Stator Winder
I built an automatic winding machine to minimize tedious hand-winding of motors.
This machine is controlled by a Raspberry Pi 4 and three DM542T stepper drivers. The tension on the copper wire is maintained with a modified fishing reel.
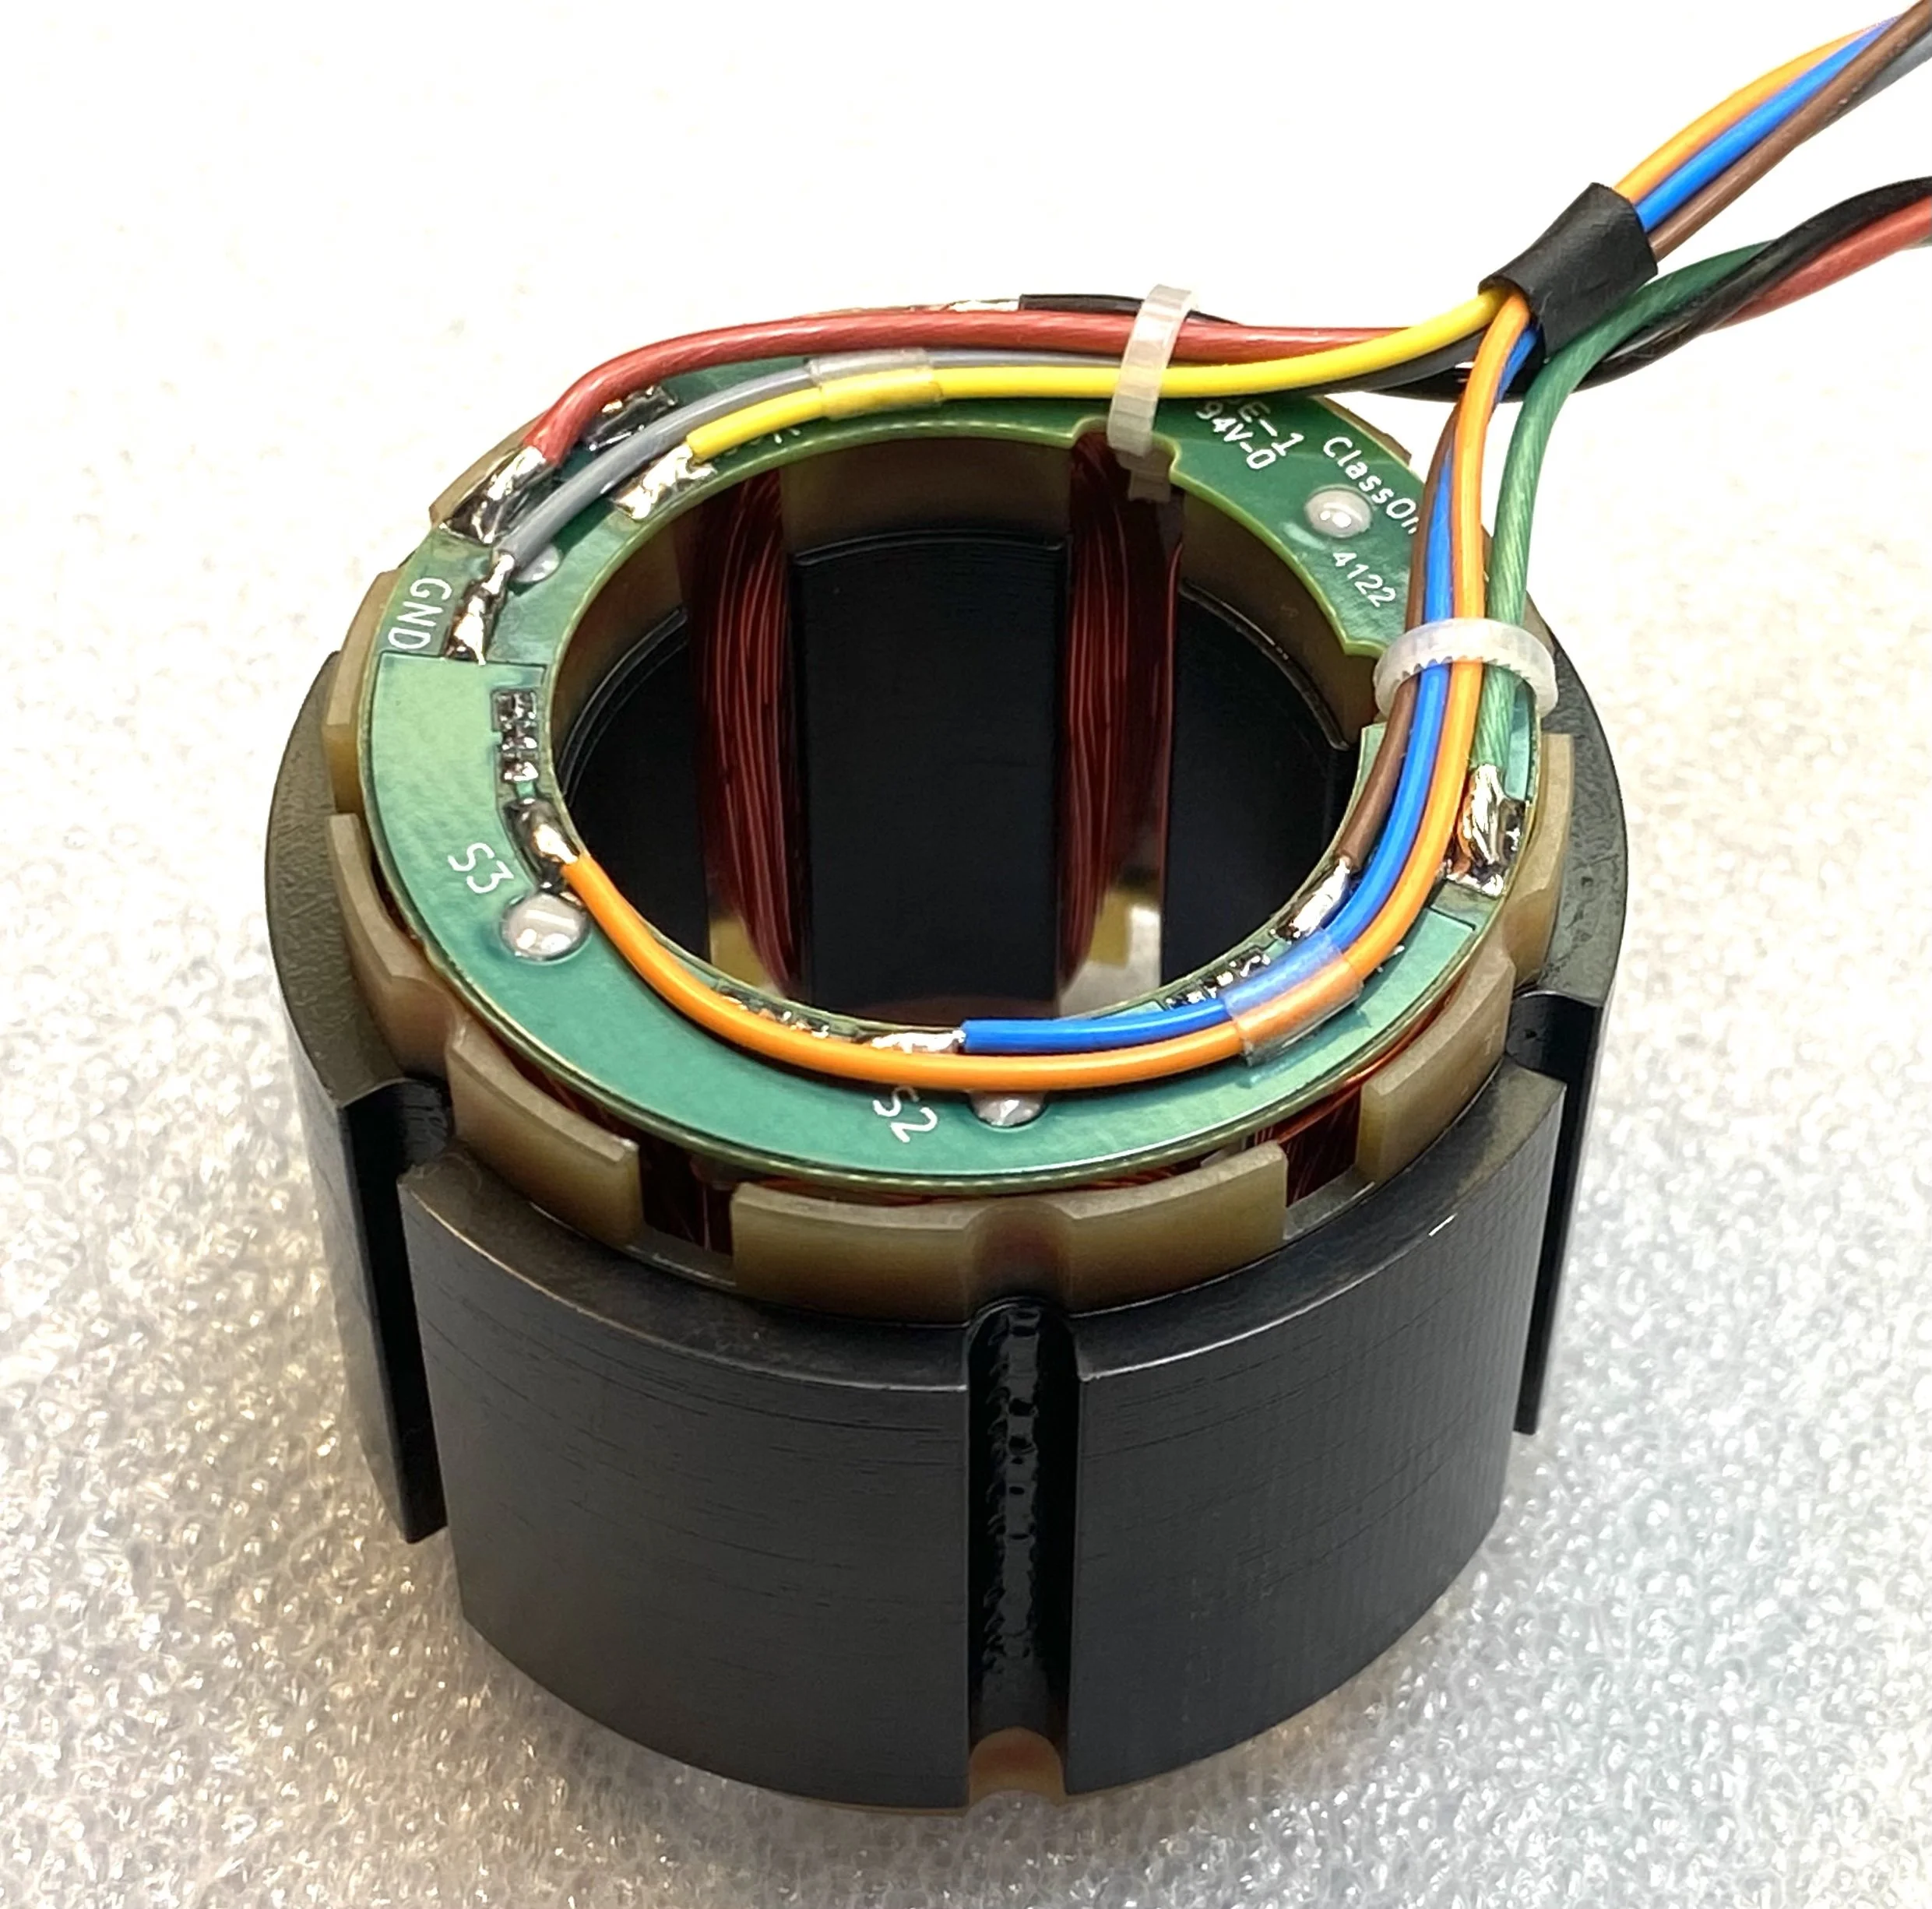
In addition to the motion control and user interface, I also redesigned the PCB which holds the Hall sensors. I was provided an SVG with mechanical specifications, and produced Gerber files using KiCad.
It was necessary to quickly produce these prototype motors within a constrained budget, so choices had to be made which expedited the process. The Z and X axes were built with linear actuators we had on-hand, while the rotational axis hardware was custom-ordered.
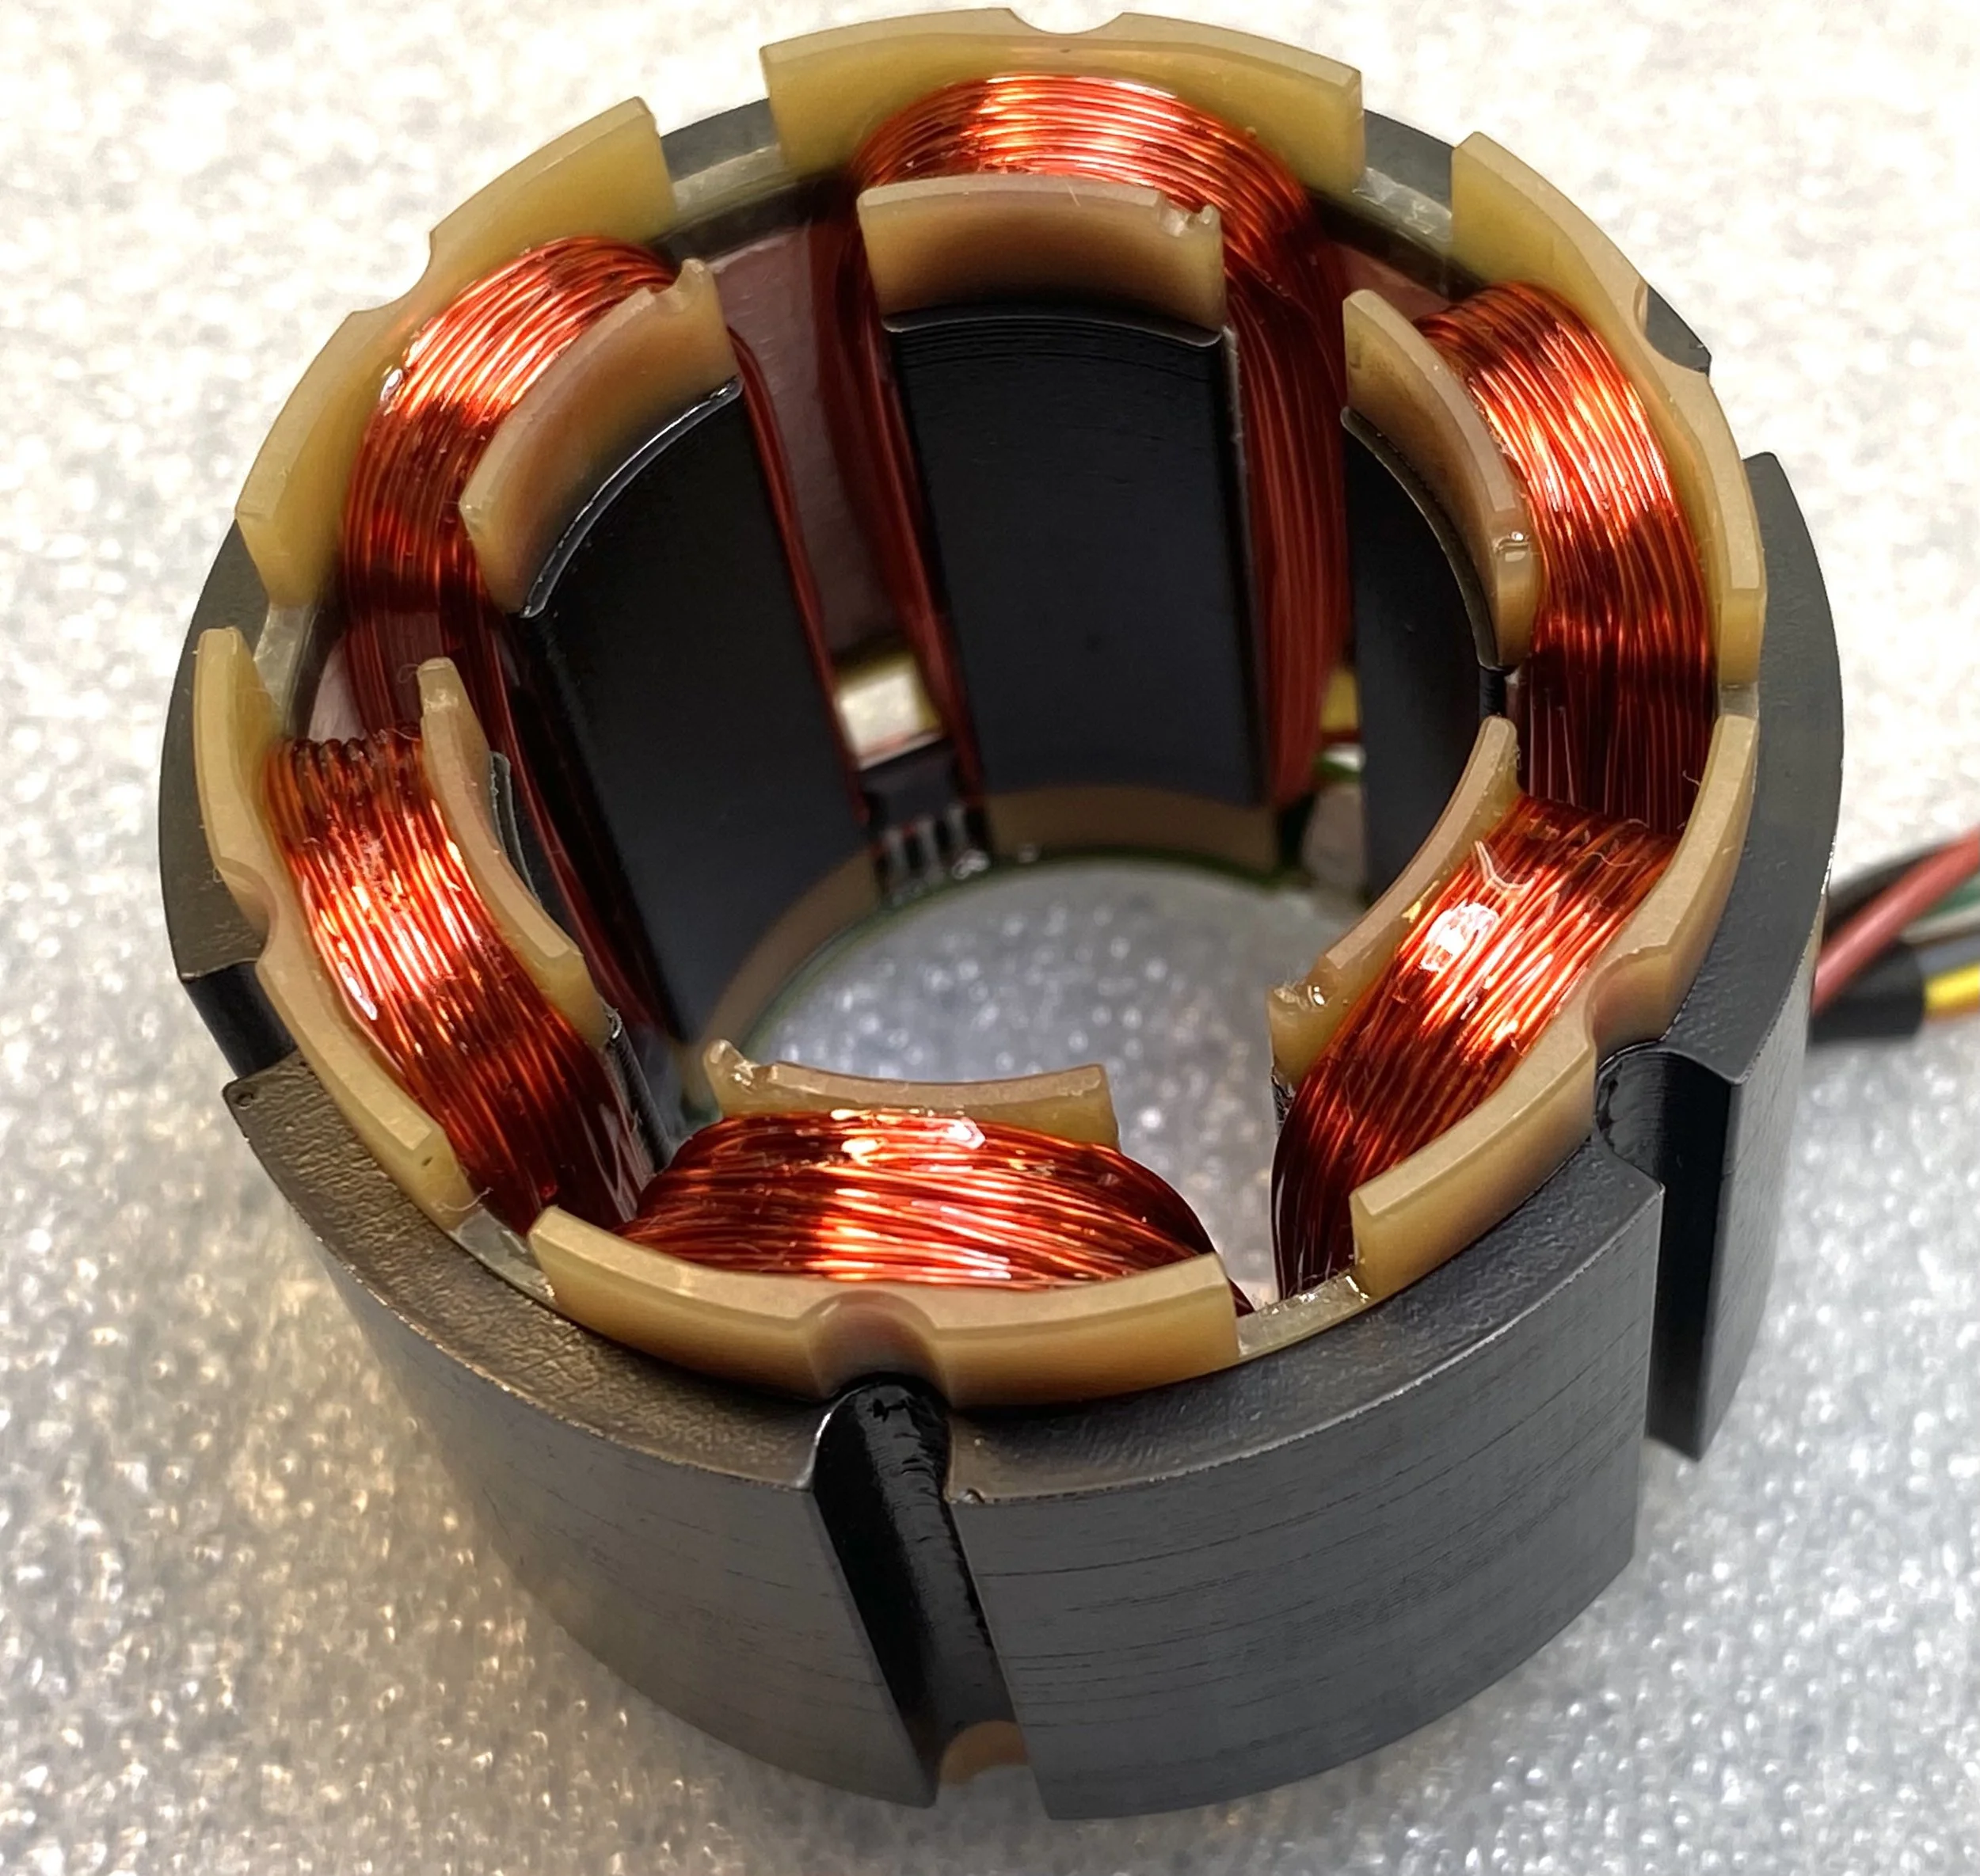
The speed of the winder has been reduced to show the winding and wire guide mechanisms.

I wrote a Python program which controls the operation of this machine. The operator has the ability to disengage the holding torque for free movement of each individual axis, and can precisely zero each axis using the arrow keys. A single, slowed loop is completed to ensure path clearance before finishing the wind at high speed.
Because of the consistent toolpath, I opted to write my own DM542T driver rather than use existing CNC or motion control packages. This gave me a high degree of control over the exact path and timing of the machine, which was useful while troubleshooting.

Tkinter-based Graphic User Interface
My role
Apart from drafting and machining the “cup” which holds the stator in place during winding, I worked independently on all parts of this project.
I benefitted from previous experience with the DM542T drivers. For a university project I built a joystick-controlled XY pen plotter, programmed in C on a Texas Instruments Tiva Launchpad.
Lessons Learned
Python Performance
I initially thought I would need to write this software in a high-performance language like C, due to the high rate of pulses needed to actuate the stepper drivers. After writing a test program, I found that Python easily satisfied the speed requirement. This allowed me to quickly write an effective motion control program and user interface.
KiCad Frustrations
It took some time to recreate the desired copper layers using KiCad, as the version I was using did not have the option of filling in irregular shapes defined by both lines and curves. I eventually found a way to get the desired copper fill using a series of solid shapes on a single layer.
Another angle showing the operation of the winder.